Microgreens are young plants harvested at an early stage of growth, offering intense flavors and a high concentration of nutrients. These tiny greens are easy to grow at home and can be used to enhance salads, sandwiches, soups, and more. They require minimal space and can be cultivated indoors year-round, making them an ideal choice for urban dwellers or those without access to a garden.
{this post contains Amazon affiliate links}
Choose Your Seeds
Selecting the right seeds is essential for successful microgreen cultivation. Popular microgreen seeds include radish, kale, sunflower, pea shoots, and arugula. Make sure to choose seeds labeled specifically as microgreens, and it is good to look for organic seeds. Experimenting with different varieties can help you discover your preferred flavors and textures.
Prepare Your Growing Space
To grow microgreens, you’ll need a shallow microgreen planting tray or container with drainage holes, quality potting soil, and a sunny location or grow light. Ensure the tray is clean and fill it with a thin layer of moist potting soil. You can go organic by using organic soils.
If you’re using a grow light, position it a few inches above the tray to mimic natural sunlight.
Plant Your Seeds
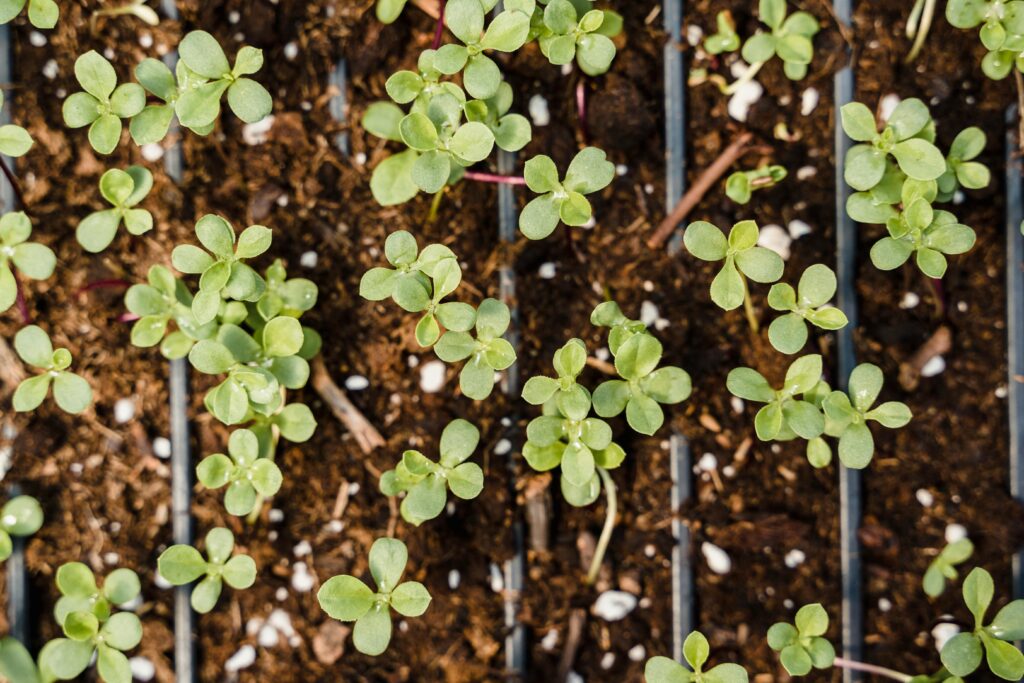
Sprinkle your chosen seeds evenly across the soil surface, ensuring they are spaced close together but not overlapping excessively. Press the seeds gently into the soil without burying them completely. Use a plant mister to mist the seeds with water to keep them moist, but avoid overwatering to prevent mold or rot. Cover the tray with a lid to create a greenhouse effect during the germination stage.

Caring for Your Microgreens
After a few days, the seeds will begin to sprout. Remove the cover and place the tray in a sunny spot or under a grow light. Keep the soil consistently moist by misting it with water daily. Rotate the tray occasionally to ensure even light exposure and prevent the plants from leaning in one direction.
Harvesting Your Microgreens
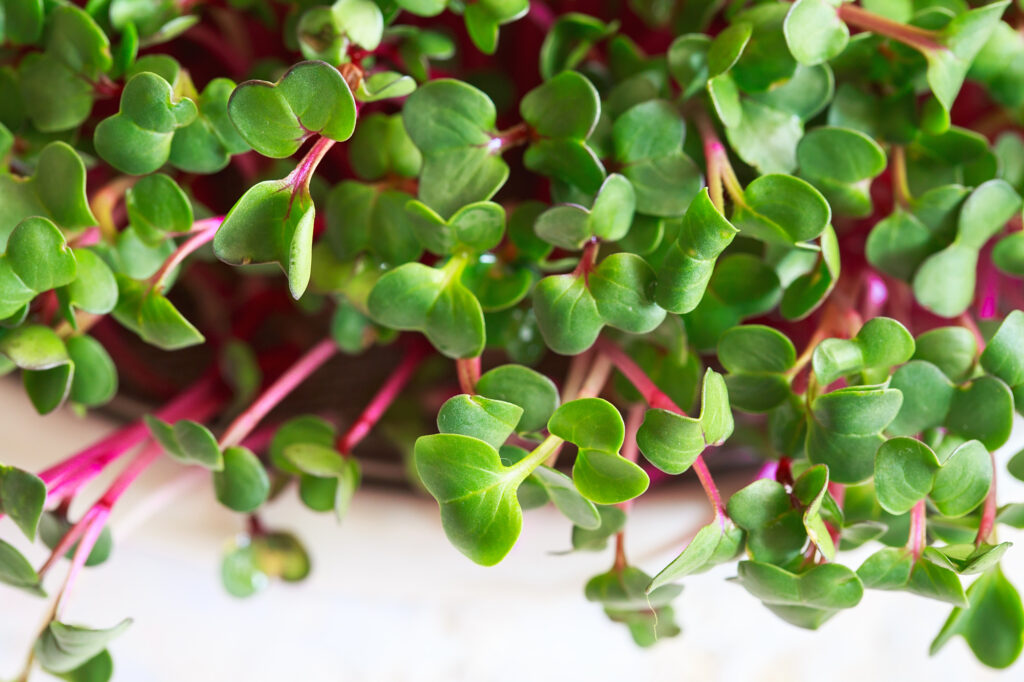
Microgreens are typically ready to harvest within one to three weeks, depending on the variety. They are ready when the first set of true leaves has developed and the plants are about two to three inches tall. Use clean scissors to cut the greens just above the soil line. Harvest only what you need, leaving the remaining plants to continue growing.

Storing and Enjoying Microgreens
Freshly harvested microgreens can be stored in an airtight container in the refrigerator for up to a week. Rinse them gently before eating to remove any remaining soil or debris. Add microgreens to your meals or use them as a garnish.
Replanting for a Continuous Supply
To enjoy a continuous supply of microgreens, plant new seeds every one to two weeks. Rotating trays or containers allows you to maintain a steady harvest and experiment with different varieties. By incorporating microgreens into your routine, you’ll have a constant source of fresh, homegrown greens to enhance your meals.


I do love microgreens. This has inspired me to start growing them at home.
I love this as I’ve been meaning to grow my own. It’s good to know that once cut, they’ll last a week in an airtight container!!
This makes me want to grow myself. I have a green thumb when it comes to gardening, and have plenty on hand.
My sister started growing microgreens years ago and uses them for dishes, and also has some just as plants. I was always interested and didn’t know where to begin, this will help me get started certainly now.
i should start doing this.. we want to start eating even healthier breakfasts and lunches now and microgreens is one thing we are thinking of. growing them ourselves makes it so much better..
I’ve never tried to make micro greens. I don’t have a green thumb and tend to kill plants. I had a Christmas cactus get overrun with fireants inside my house.