
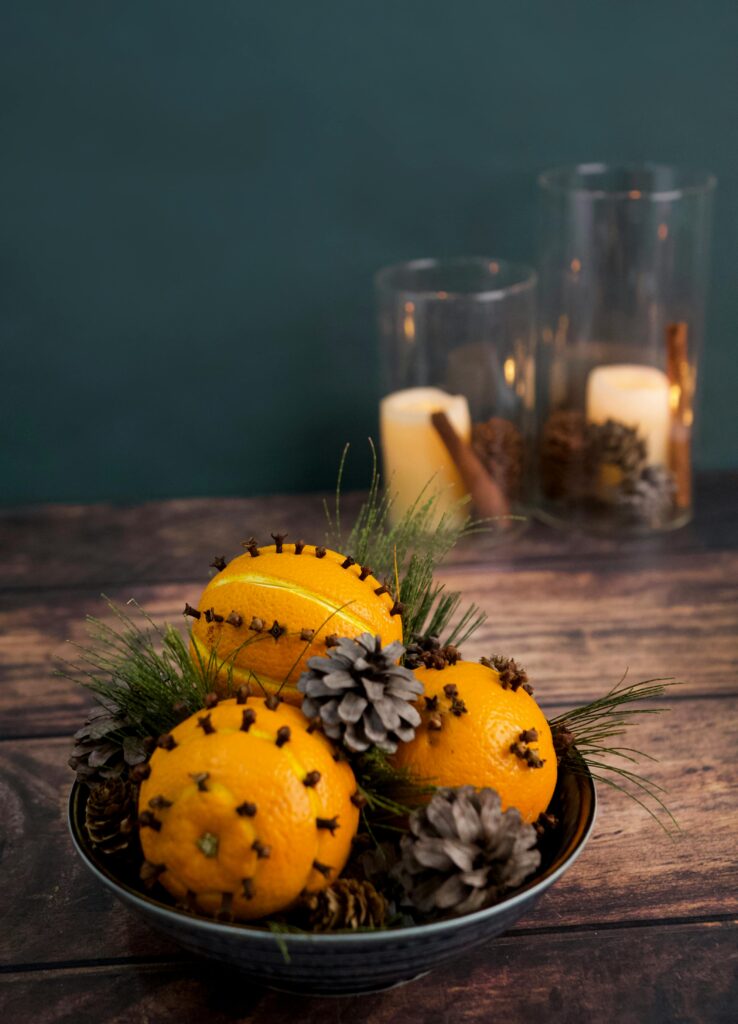
Traditional pomander balls are a fun and classic craft. This craft has been made for generations, and is a wonderful way to add a lovely scent to your home for the holidays.
Materials Needed
Firm, fresh oranges
Whole cloves
Skewers or toothpicks
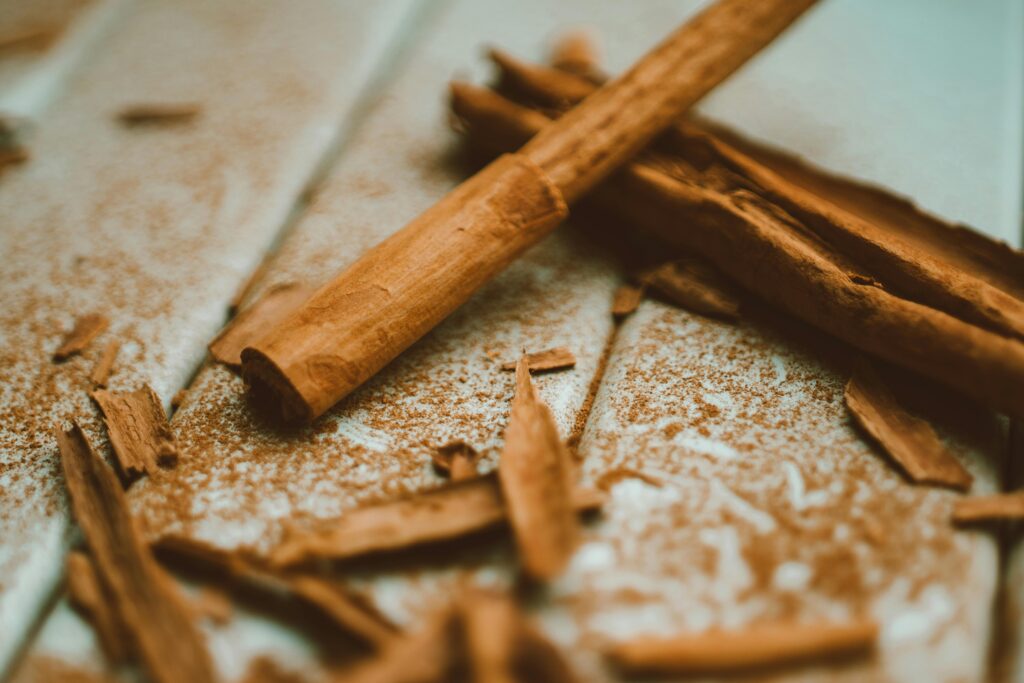
Spices like cinnamon or nutmeg for dusting
Optional: orris root powder to help preserve the pomander ball
Ribbon for hanging

Prepare the Orange
Wash and dry your orange.
Decide on a pattern for your design, which you can mark with a pencil if desired.
Add the Cloves
Use a toothpick or skewer to poke small holes where you want the cloves to go.
This makes inserting them easier and prevents splitting the orange.
Push the cloves in one by one, spacing them evenly or grouping them to create your chosen design.
The more cloves you use, the longer-lasting and more fragrant your pomander will be.
Coat with Spices
For a stronger scent and improved preservation, gently roll or dust the finished pomander in a mixture of ground cinnamon, nutmeg, and allspice.
This helps the orange dry out slowly and boosts the aroma.
Let It Cure
Place the pomander in a cool, dry area to cure for several days to a week.
Rotate it occasionally to ensure even drying.
As the orange dries, it will become lighter, harder, and more aromatic.
Display
Once cured, your pomander ball can be placed in bowls, tucked into drawers or closets, hung with ribbon, or given as a beautifully fragrant homemade gift. They can last for weeks or even months when properly dried.


I can almost smell these DIY Pomander Balls through my screen! They look so beautiful, too.
I remember making these as a kid for gifts. I am going to make one for my home.
I am so making one! They wore them on belts in Tudor times, so they would be fun to have.
I haven’t made these before but I know I’m going to love the fragrance that they give off. I might do this soon as a Christmas activity with my son and take a few to friends and family so they can enjoy the lovely fragrance these provide.
What a great guide. I love how you break down making pomander balls into such a simple, cozy craft that doubles as festive decor and natural home fragrance. The idea of using oranges and cloves to fill the house with warmth feels like such a timeless, comforting tradition.
I made these as a kid with my dad and my step mom…. and I love the smell that they give off so much too. I might need to make these as it brings back amazing memories and I love the scent! Perfect for this time of the year too 😉
Oh, I need these! Since we stopped buying commercial house fresheners, it’s tricky with cats. Love our furbabies, but in winter, the house can quickly get kinda funky. A home smelling of cinnamon is perfect for the holiday season! Thank you.