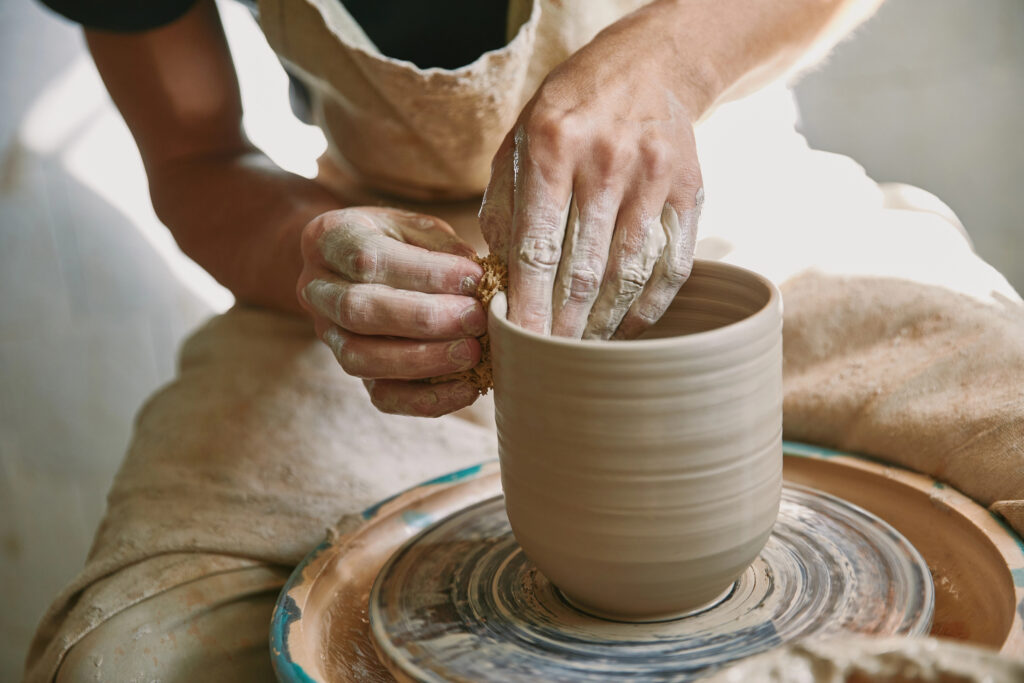
Pottery has a special charm, combining beauty and function. Whether it’s an ancient vase or your grandma’s favorite ceramic teapot, each piece tells its own tale. But, even the toughest pottery can end up with cracks or chips over time.
Don’t worry! With some patience and practice, you can learn how to repair pottery.
In this guide, we’ll explore the art of pottery repair, focusing on those cracks and chips. By the end, you’ll know the techniques to bring your treasured pieces back to life.
Assessing the Damage: Identifying Different Types of Breaks
Before reaching for glue or putty, it’s crucial to assess your pottery’s condition. Not all damage is created equal. A hairline crack differs significantly from a gaping chip. Understanding the extent of damage allows you to choose the right approach.
Hairline cracks often whisper warnings of deeper issues. If left unattended, they might stretch or worsen over time.
Chips, on the other hand, tend to scream for attention but are usually localized. You’ll need different tools and techniques based on the type of breakage.
Essential Tools: What You Need for Pottery Repair
For starters, invest in quality adhesives. Epoxy resin is popular for its stronghold. It’s perfect for connecting separated parts safely.
You may also require a dental pick or similar fine instrument for applying epoxy with precision in small doses.
For refinishing surfaces post-repair, fine sandpaper can help smooth out bumps. Don’t forget paint and glaze to restore original beauty.
Techniques for Tackling Cracks: Step-by-Step Guide
Crack repairs need patience. Here’s a quick guide:
- Step 1: Clean the area carefully; dirt only complicates matters. Wash away any residues that might interfere with glue bonding.
- Step 2: Apply epoxy along the crack evenly using your handy pick tool.
- Step 3: Once applied, press cracked parts gently back together until secure.
- Step 4: Wipe off excess glue speedily before it sets awkwardly outside needed zones.
- Step 5: Keep stress on the object minimal during drying since shifting could re-crack once cured.
Mending Chips: Closing Gaps Seamlessly
Chips often look worse than they are. That’s the good news. Adhesive clay can work wonders by filling those gaps seamlessly.
Make sure to match the color and texture of your adhesive clay with the surrounding area first. Testing this before applying can save a lot of hassle later. Press the clay mixture into the chipped area, sculpting down any excess so that surfaces line up smoothly.
After allowing ample drying time (which varies depending on the product), gently sand the edges until they blend perfectly with the intact sections.
The goal is to achieve a seamless look, much like a professional restorer would ensure – smooth and harmonious throughout the repaired area.
Finishing Touches: Painting and Glazing Like a Pro
Once you’ve completed the repair work, it’s time for some finishing touches. Depending on the damage level and your personal design preferences, you might want to apply a primer as an initial layer. This prepares the surface for any painting or glazing you’ll do next.
Consider investing in paints and glazes that match or enhance your piece’s original design. With patience and creativity, you can transform your pottery back to its former glory – or even better.