
I am cold, a lot of the time. So I find ways to stay warm at home especially during the really cold winter months.
Many years ago, I received a microwavable warmer as a gift. It was great, but it had corn inside, which eventually ended up smelling like burnt corn. I learned that rice was a better option and started making my own rice warmers.
These are so easy to make, and you can make different sizes and designs.
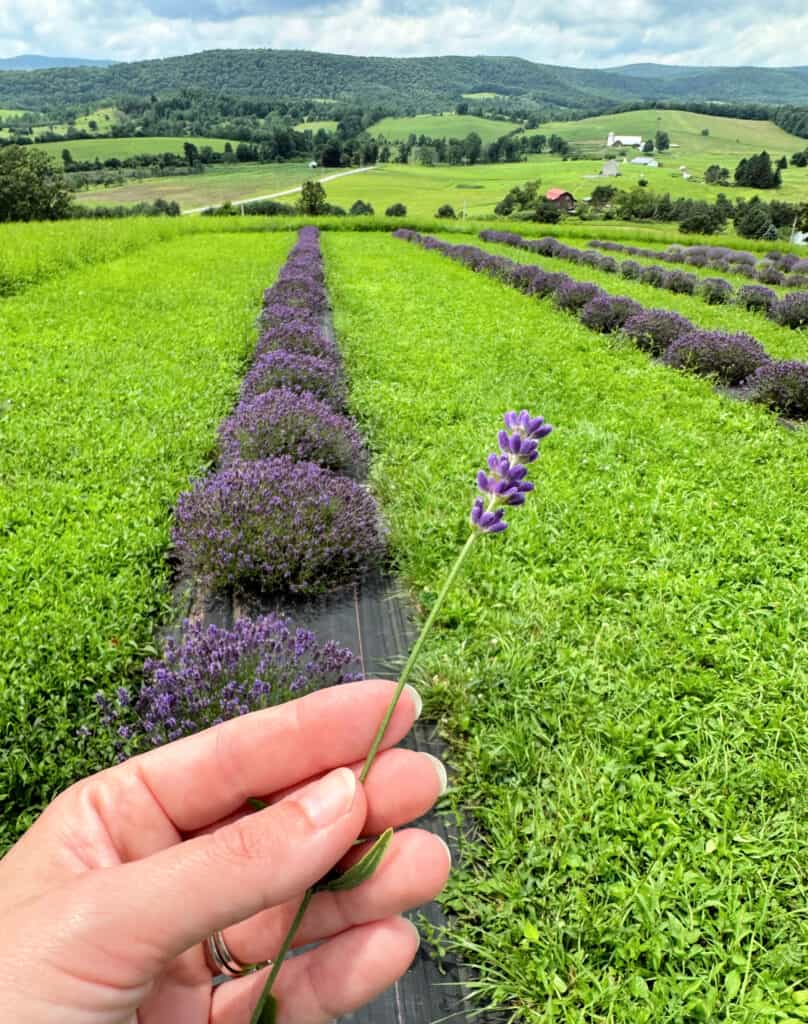
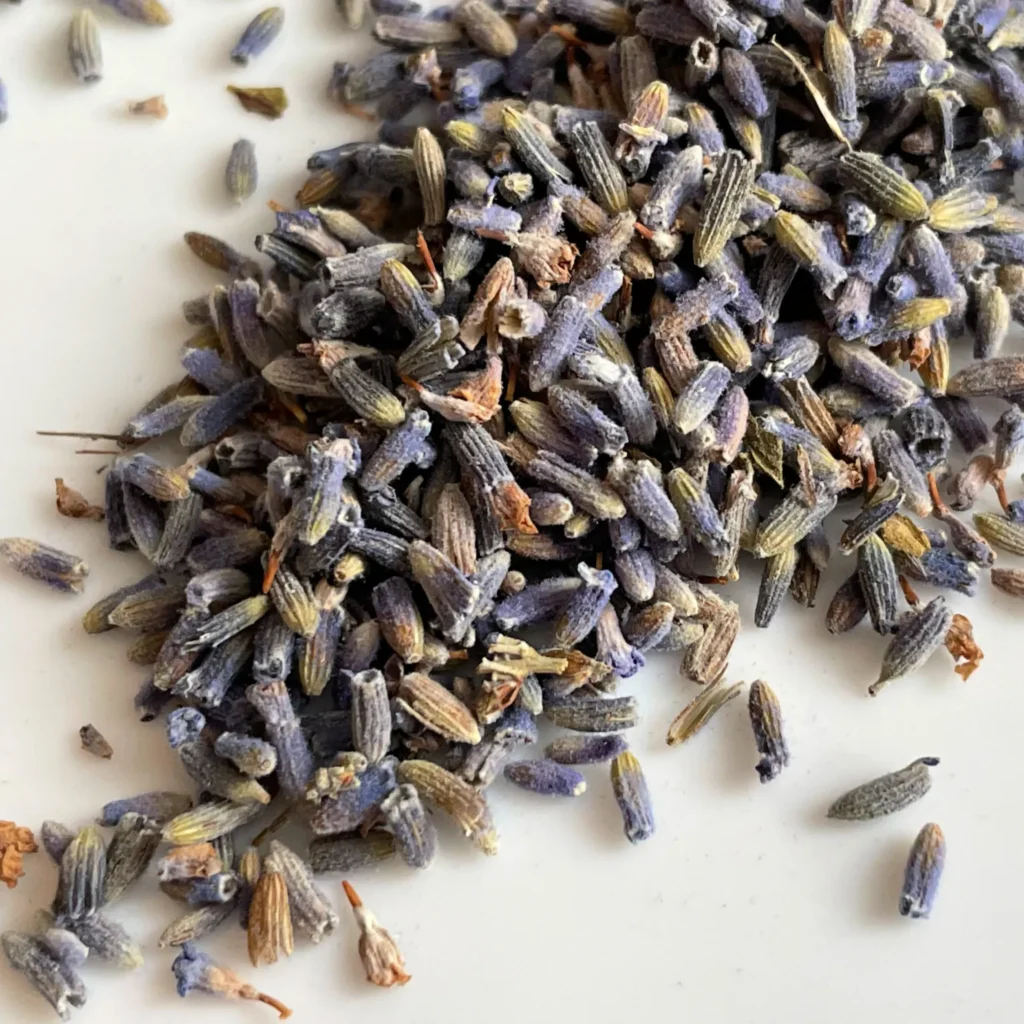
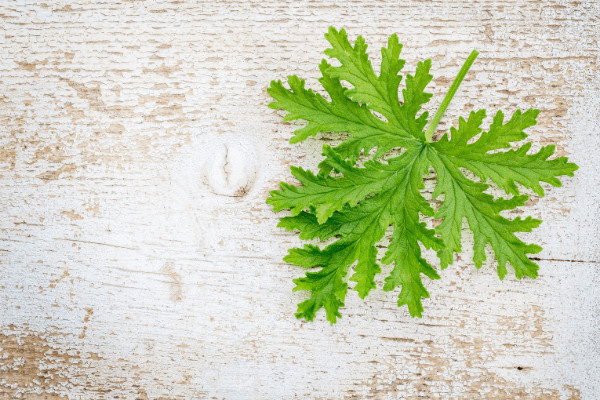
I usually just use rice, but I also love the relaxing scent of lavender, and last summer we went to a farm to pick our own lavender. I thought it would be a great way to use the dried lavender that I saved.
Materials needed:
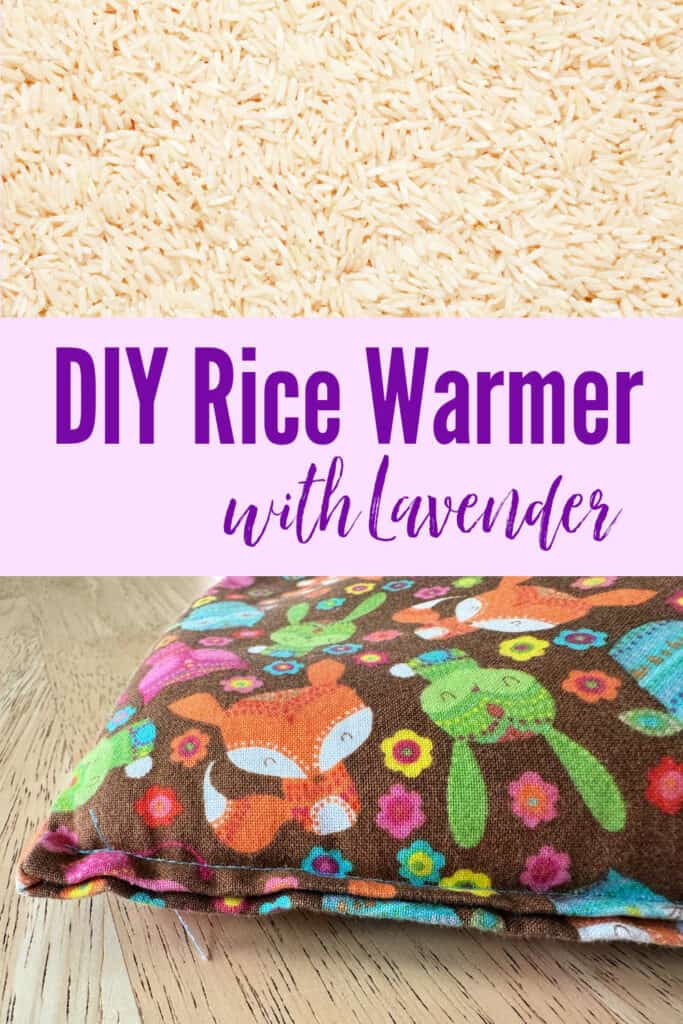
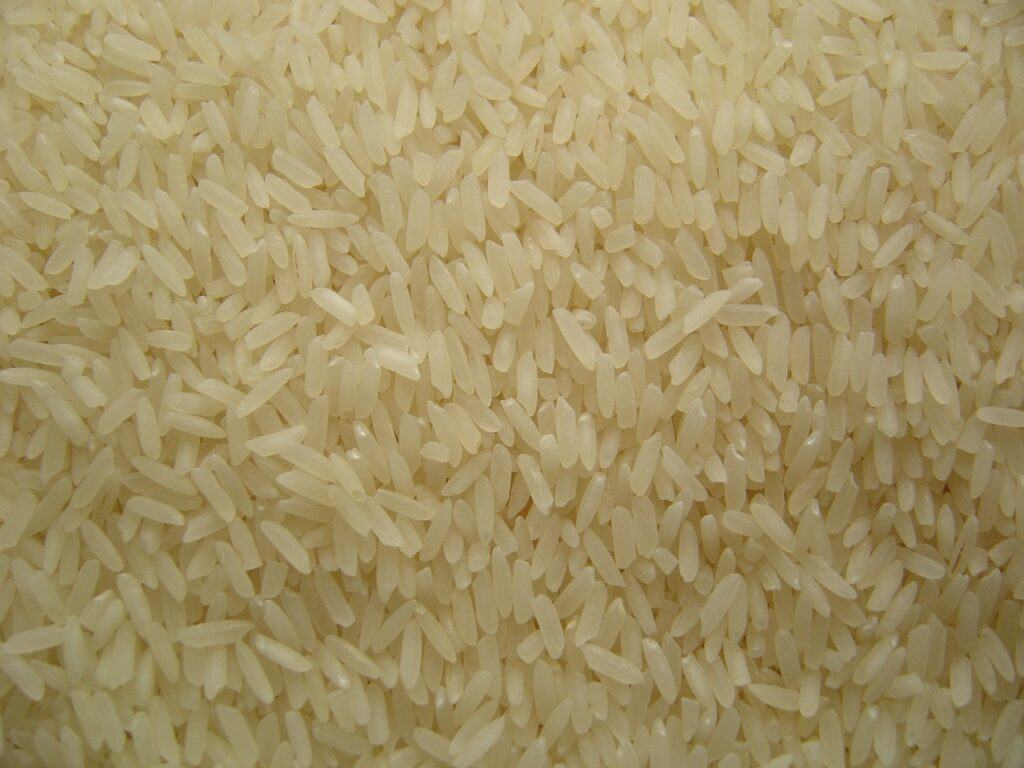
~ White rice (I used 32oz for this project)
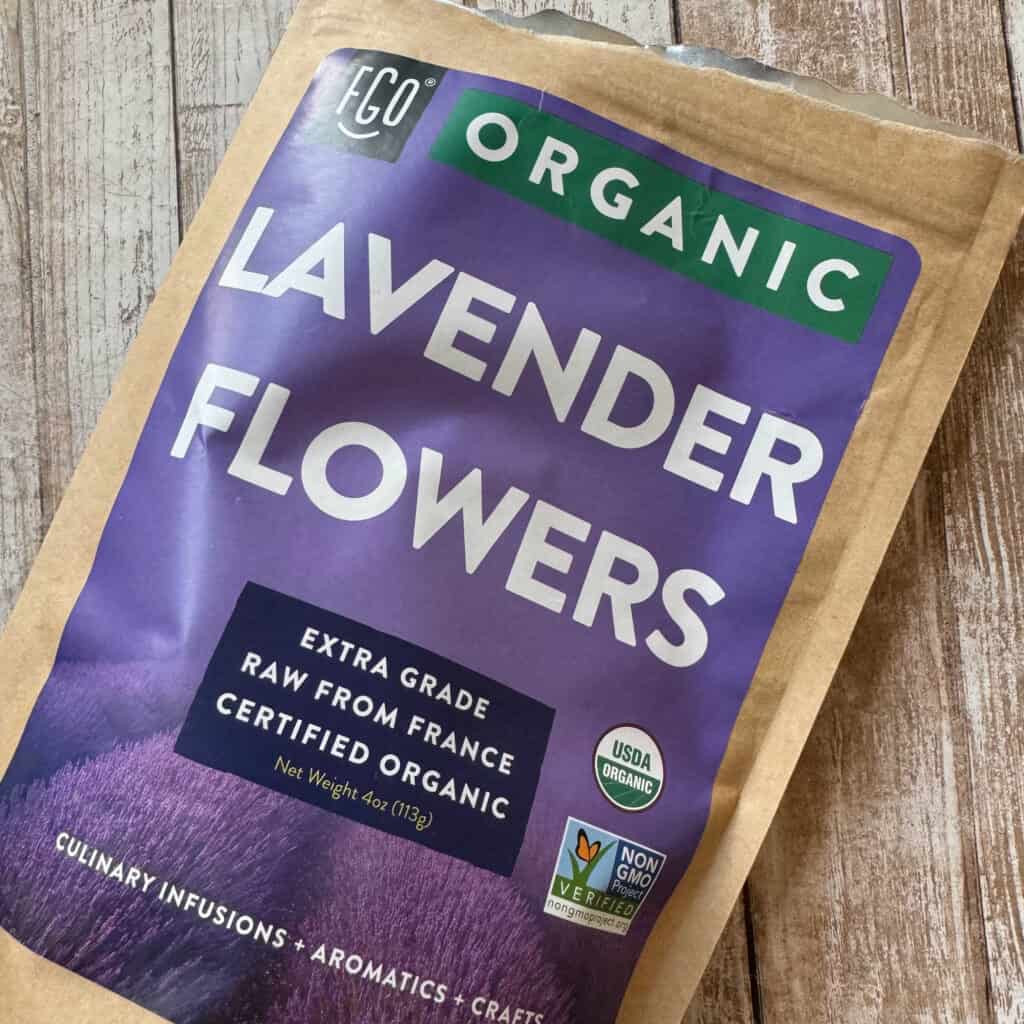
~ Dried lavender (optional)
~ Fabric (I used a 21″x 33″ piece of fabric for a 10″x16″ warmer)
~ Sewing machine
Directions:
You can make any size warmers you like, from hand warmers that fit in your pockets, to large warmers that will cover your lap.
My finished warmer measures 10″ x 16″. Therefore you would need to double that to 20″ x 32″ to start, and add about an inch to each side for seams, so 21″ x 33″ to start. You can make the warmer whatever size you want!
Measure and cut your fabric.
Your piece should be a little bit larger than twice the size that you want your finished warmer to be.
I like using two layers so that there is a slightly thicker layer of fabric.
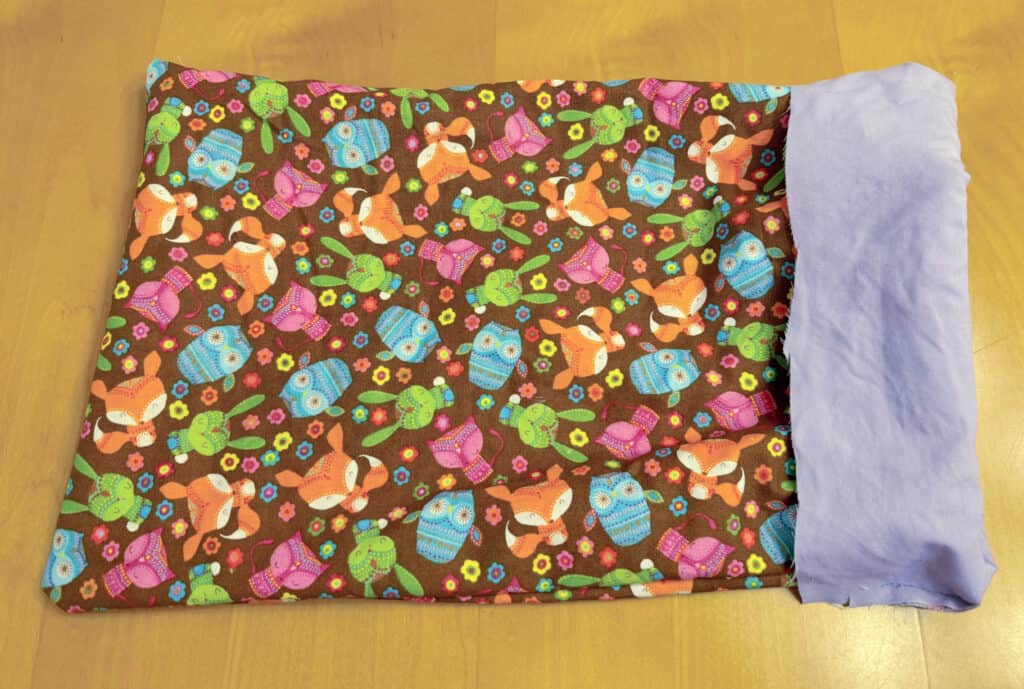
Fold the material in half, and sew along three sides. The white is going to be the inside, and the fox print is on the outside once we turn this inside out.
![]()
Then you are going to turn the fabric right side out and fill it with rice to your liking.
You can find white rice for cheap at Dollar Tree and Walmart.
I also add in a handful of dried lavender and mix it in. You can purchase this on Amazon or use your own.
I was able to use some of the lavender we picked over the summer and dried.
Fill to your desired fullness. I like to have the warmer be flexible, as I use it for a variety of purposes (such as my neck or back).
Fold the open edges in, and sew shut.
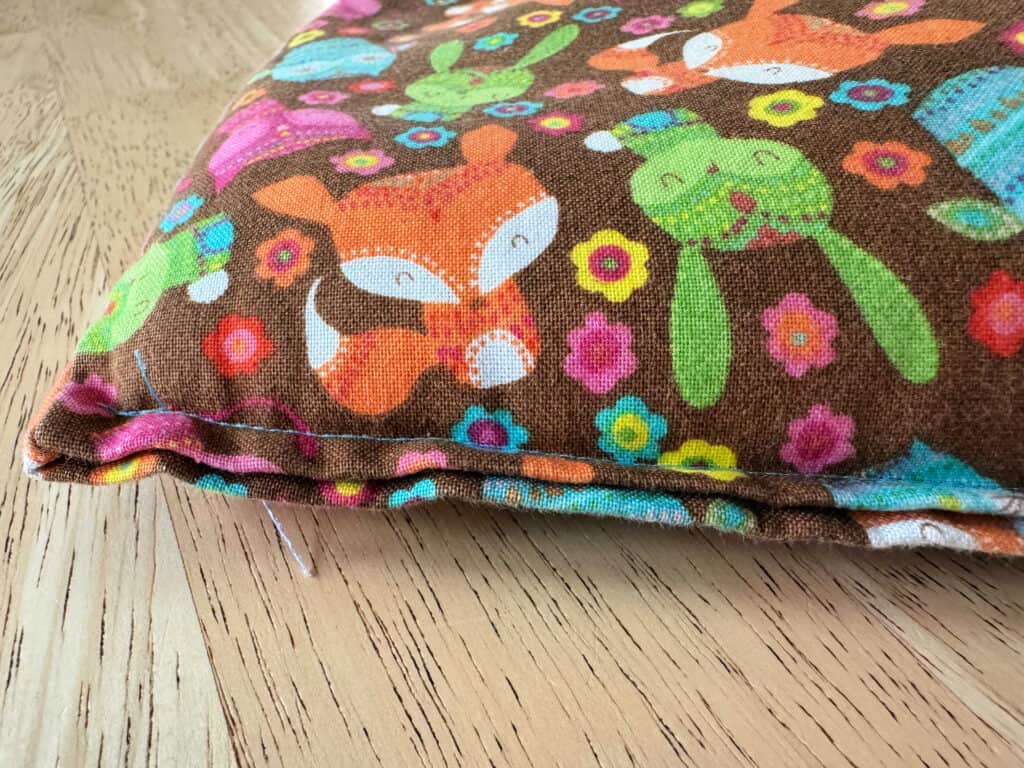
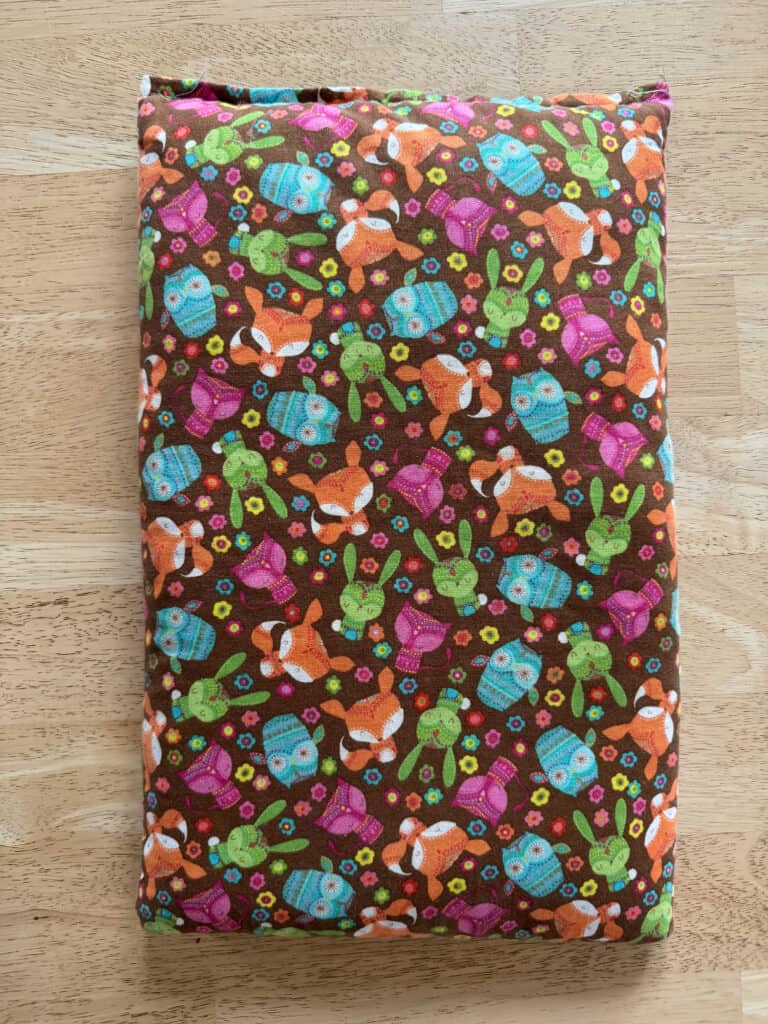
Here is the finished product:
The first couple times you microwave the warmer, it will feel a little moist, as the rice releases moisture.
I microwave the warmer in 1 minute intervals until I know a good time for heating it up.


This is so perfect for me! I get migraines, and a warming pad like this on my neck really helps. The lavender helps my head, too. Win win!
I love this! I have used warm water bottles for my monthly cycle, but this with lavender seems much more appealing. Thanks for sharing.
I’ve never heard of a rice warmer before! This is genius and perfect for my hubby. He is always cold and something like this will be beneficial to him. I also like that it’s super easy to make!
Maureen | http://www.littlemisscasual.com
This looks like a great way to spend a weekend – making a rice warmer. I might make one of these during a storm when I’m looking for something to do.
Wow, great tips and guides and I think the warmers are good for at home or as a great gifts 🙂 That looks easy and thanks for sharing the tips.
I need to make one of these! This would be such a great way to ease cramps and also just for general comfort!
This is such a smart and clever idea. I’m going to give this a try thank you so much x
This is the first time I knew that there is rice warmer. This is very nice to share because this is DIY and easy to make one and use.
Very cool idea, easy to do but would come in handy in this size to have a warmer. Thank you for the tutorial.
This is brilliant! I haven’t really about making one myself but this is easy to make. Thank you so much for sharing. I agree with you that rice would be a better option than corn.
I can’t wait to try making these with my own fabric choices and maybe even adding some essential oils for extra relaxation.
What a great idea, we have an old one here that smells now, I didn’t even realise how simple it could be to make one using rice. I love that you have added dried lavender too, it is such a relaxing scent.
I can’t believe you made this, this is amazing…I love it! I would love to make one myself, so creative. A perfect project with the kids.
Oh, nice! I’m a Virtual Assistant, and being on the computer all day kills my back. I love this because it’s so easy to make, and the lavender is a nice touch, too!
I usually just buy mine on Etsy but these are so easy to make! Plus I can make it any shape and color I want!
The mention of adding dried lavender for a relaxing scent adds a thoughtful touch to the warming experience. It’s a cozy and resourceful idea for keeping warm while adding a personal touch to everyday comforts.
I am just loving this and this is perfect for making with the kiddos for a cool DIY project. I love the scent of lavendar so adding that is a great tip and I am so goign to try my hand at this!
This is a terrific DIY. I had one of those that smelled like burnt popcorn, as well. I love the material you chose, btw!
I have never heard of rice warmer before but it sounds interesting. I can make this too. I love the idea of lavender in it.
Being able to pick out your own lavender on a farm sounds so cool and a bit therapeutic. This is a great idea, and will come in handy on my lazy self-care days or when I get a migraine!