Oh, the joys of moving! As if packing up our entire lives wasn’t enough of a challenge, now we’re faced with the dreaded move-out inspection. But don’t worry, mama – I’ve been there, done that, and I’m here to share all my hard-earned wisdom. Let’s dive into the ultimate guide to leaving your rental sparkling clean and securing that security deposit.
Why it matters
First things first – why are we putting ourselves through this cleaning marathon? Well, our landlords typically expect the house to look as good as new. Meeting these expectations isn’t just about getting our deposit back (though that’s a pretty sweet incentive). It’s also about leaving on good terms and maybe even securing a glowing reference for our next rental application. Especially when you have young kids, anything to stack the cards in your favor really helps.
The game plan
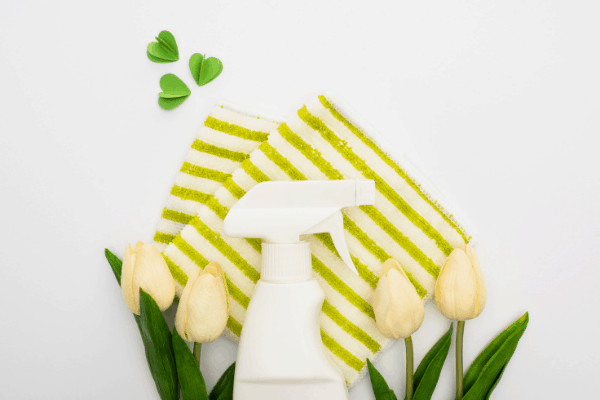
Before we roll up our sleeves to clean your house, a bit of planning goes a long way. Our cleaning supplies should be gathered – think all-purpose cleaners, microfiber cloths, a vacuum, mop, buckets, and don’t forget the rubber gloves! A comprehensive cleaning checklist for each room is a lifesaver. It might seem like overkill, but when you’re elbow-deep in grime, you’ll be thankful for the reminder to clean even the rangehood filters.
Depending on the size of your house and how many little “helpers” you have, this could be a one-day marathon with move out cleaners or spread over a few days to clean your house. Either way, having a timeline in mind helps keep the momentum going.
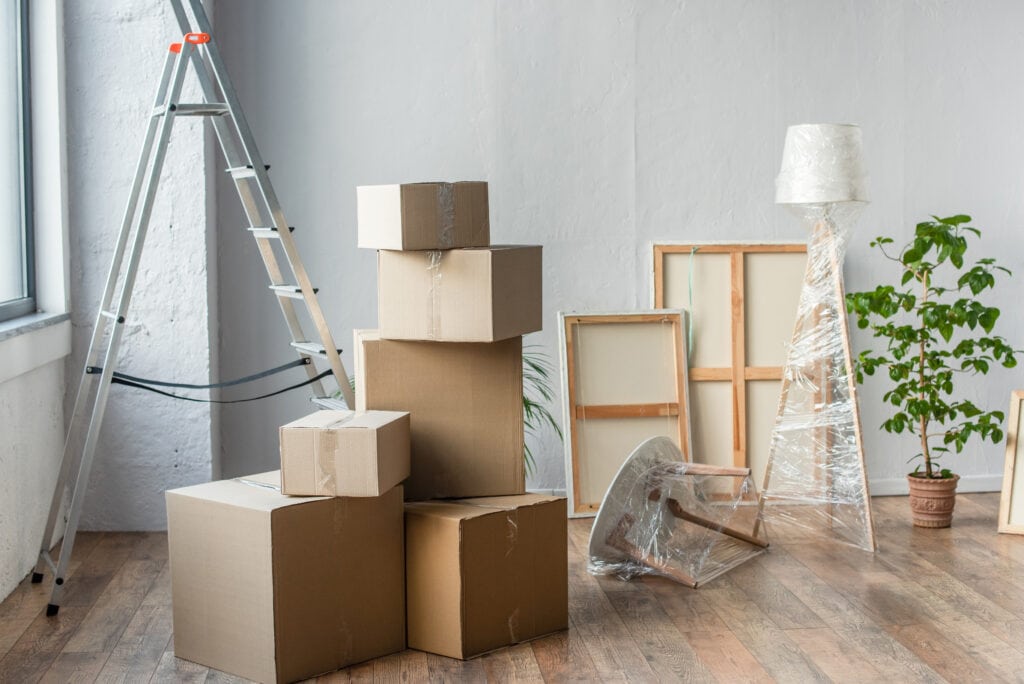
Move out the furniture
Once you’ve got your cleaning supplies and a solid plan in place, it’s time to tackle the big job of moving out the furniture. One of the moving mistakes people make is leaving their furniture in the house and starting the clean, leaving many missed areas that may not pass the move out inspection. Before diving into the cleaning, remove all your furniture and belongings from the rooms. This not only makes it easier to reach every part of the house but also gives you a chance to clean behind and underneath items that often get neglected.
Find a Mover removalists say “Start with the larger pieces like sofas, beds, and wardrobes. If you’ve got heavy furniture, don’t hesitate to ask for assistance – it’s better to be safe than sorry. “
As you clear each room, take a moment to dust and vacuum any surfaces that have been hidden from view. After all, a thorough clean contributes to that “just like new” look landlords are after. Once everything is moved out, you’ll be left with a blank canvas, making it much easier to tackle those stubborn stains, scratches, and accumulated dust before the big inspection day.
Room-by-room breakdown
Living room & common areas
In these high-traffic areas, dust is our nemesis. Ceiling fans, light fixtures, shelves, and baseboards – nothing escapes our microfiber cloths! Walls and doors often bear the brunt of sticky fingers and scuff marks, so they’ll need some extra attention. Windows should be washed inside and out (if you can safely reach), and those blinds? They’re dust magnets.
For floors, it’s vacuum time for carpets (consider a professional steam clean if they’re looking worse for wear) and a good mop for hard surfaces. A steam clean in definitely the way to go if you want to pass the move out inspection.
Kitchen
Ah, the kitchen – where spills, splatters, and sticky messes reign supreme. Appliances need to be cleaned inside and out, especially the oven and fridge. Pro tip: don’t forget to pull these out and clean behind and underneath them. It’s amazing what can accumulate back there!
Cabinets and drawers should be emptied and wiped down, both inside and out. Countertops and splash backs often need a good scrub to remove grease and stains. The sink and faucets deserve special attention – limescale and grime have no place in our sparkling kitchen.
Finally, the floor gets swept, mopped, and disinfected. Because let’s face it, between spilled cereal and dropped sippy cups, that floor has seen things.
Bathrooms
Bathrooms and wet areas can be intimidating, but they’re actually pretty straightforward. This is where you put on some heavy-duty cleaning gloves and use your just get it done mom attitude to tackle the toilet, sink, and bath tub/shower with bathroom cleaners and some serious scrubbing. Where there is water, soap scum and limescale are prevalent, so don’t be afraid to put some muscle into it. Landlords are especially fussy in these areas for their move out inspection and tend to inspect thoroughly, especially the tile grout lines around the tub and bathroom shower walls, you can buy a brush with a handle and run it back and forth in areas that have developed a bit of limescale over time. For the mirrors and glass, you should have them cleaned until they’re streak-free (newspaper works wonders here with some glass cleaner!).
Just like in the kitchen, cabinets and drawers get emptied and wiped down. And of course, the floor gets swept, mopped, and disinfected. Because in a house with kids, we know exactly what ends up on that bathroom floor!
Bedrooms
Bedrooms are usually the easiest rooms to tackle. Closets should be emptied and dusted. Walls and windows get the same treatment as in other rooms. Floors are vacuumed or mopped, depending on what type of flooring you have.
Hallways and stairs
Don’t forget these transitional spaces! Railings often collect fingerprints and dust, so they need a good wipe-down. Floors should be swept, mopped, or vacuumed, with special attention to corners and edges where dust likes to hide.
Garage & outdoor areas
If your rental includes a garage or outdoor areas, these need attention too. Clear everything out with move out house movers, give the floor a good sweep, and check for cobwebs in corners and around light fixtures.
Roof attic
The attic is often a neglected space, but it’s beneficial lean the attic and to give it some attention during your move-out cleaning process. If you have any stored items like old boxes of clothing or toys make sure they are removed completely and if you’re unable to take everything with you, consider taking it to the charity shops and have them donated. It’ll make it easier to tackle once the area is clear, dust off any surfaces, including beams and rafters, as well as the flooring. Be mindful of cobwebs that may have accumulated in the corners, and use a vacuum or a broom to eliminate them. It’s also important to check for signs of moisture or pest activity, as these can often go unnoticed.
The final touches
Now that we’ve conquered the big stuff, it’s time for those little details that can make all the difference:
Deodorize: Open those windows and let some fresh air in. If necessary, a few strategically placed air fresheners can work wonders.
Touch-up paint: If you’re allowed (and have the original paint color), spot painting by covering any noticeable scuff marks or holes can really freshen up the space.
Replace burned-out light bulbs: Make sure all fixtures have working bulbs. It’s a small thing, but it shows you care about the property.
Double-check: Take one last walk through the house with your checklist. It’s amazing what you might notice on a final pass.
Commonly missed areas
Even the most thorough cleaner can overlook a few spots. Here are some commonly missed areas that could lead to last-minute deductions:
Behind appliances: We mentioned this earlier, but it’s worth repeating. The areas behind the fridge, oven, and washing machine often get neglected.
Vents and filters: Dust those HVAC vents and replace air filters if needed.
Light switches and outlet covers: These collect more fingerprints and smudges than we realize.
Doors and doorframes: Another hotspot for fingerprints and dust.
Outdoor garden: Make sure to tidy up any outdoor areas, such as the garden or patio. Landlords may expect these areas to be left in a similar state to when we first moved in.
Bonus tips
Want to really impress your landlord? Here are a few extra steps that can make a big difference:
Leave a note: A simple note detailing the cleaning you’ve done, any repairs made, and any issues you found can show your landlord that you’ve been a responsible tenant.
Take photos: Document the cleaned state of the house. These can be valuable if there’s any dispute about the condition you left it in.
Return keys and remotes: Place these in an obvious location or hand them over in person. Nothing’s worse than realizing you still have the garage door opener after you’ve moved out!
A clean slate for a fresh start
Whew! We made it through. I know it seems like a lot of work – and let’s be honest, it is. But the reward of getting your full deposit back and starting your new adventure stress-free is so worth it.
Remember, mama, you’ve got this. You’ve handled spaghetti explosions, glitter tornados, and crayon masterpieces on the walls. This move-out cleaning? It’s just another day in the life of a superhero mom. So put on your favorite playlist, maybe bribe the kids with a special treat if they help (or better yet, send them to grandma’s), and tackle this cleaning like the boss you are.
Here’s to new beginnings, sparkly clean houses, and the satisfaction of a job well done.