
Growing your own sprouts at home is a simple, cost-effective, and nutritious way to enhance your diet with fresh greens. Sprouts are packed with vitamins, minerals, enzymes, and essential nutrients, making them a valuable addition to salads, sandwiches, wraps, and smoothies.
Whether you’re familiar with growing plants or not, cultivating sprouts requires minimal space, time, and resources. Here are some tips to get started!

{This post contains Amazon affiliate links}
Choose Your Sprout Seeds
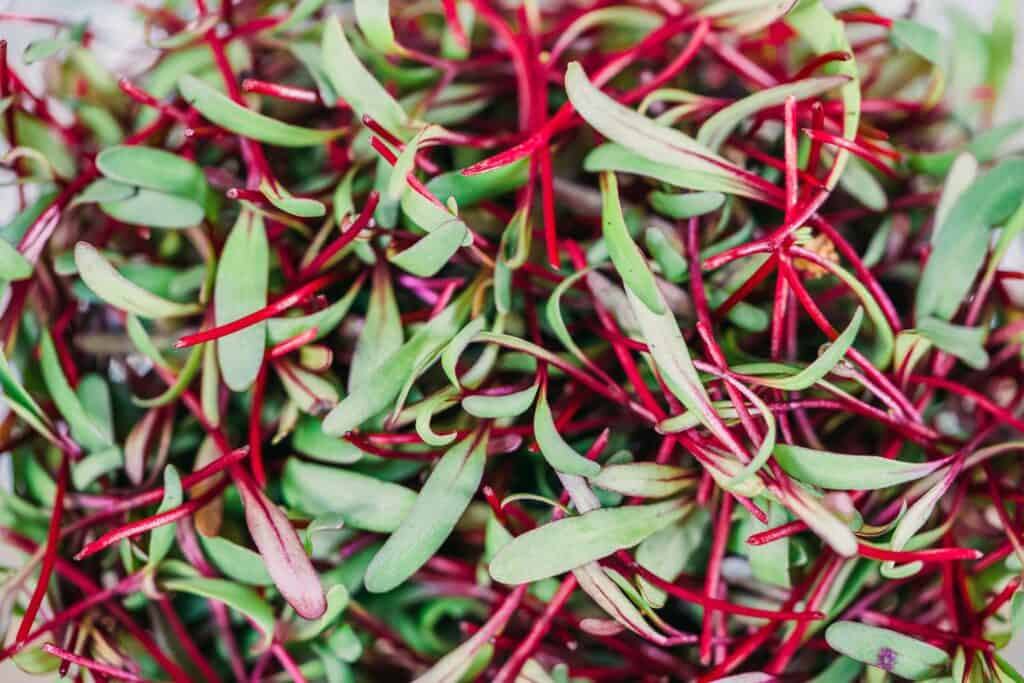
There are various types of sprouts you can grow, such as alfalfa, mung bean, broccoli, lentil, or radish. Select the variety you prefer or experiment with different types.

Look for high-quality organic seeds specifically labeled for sprouting. You’ll want to be sure they are fresh, and untreated.

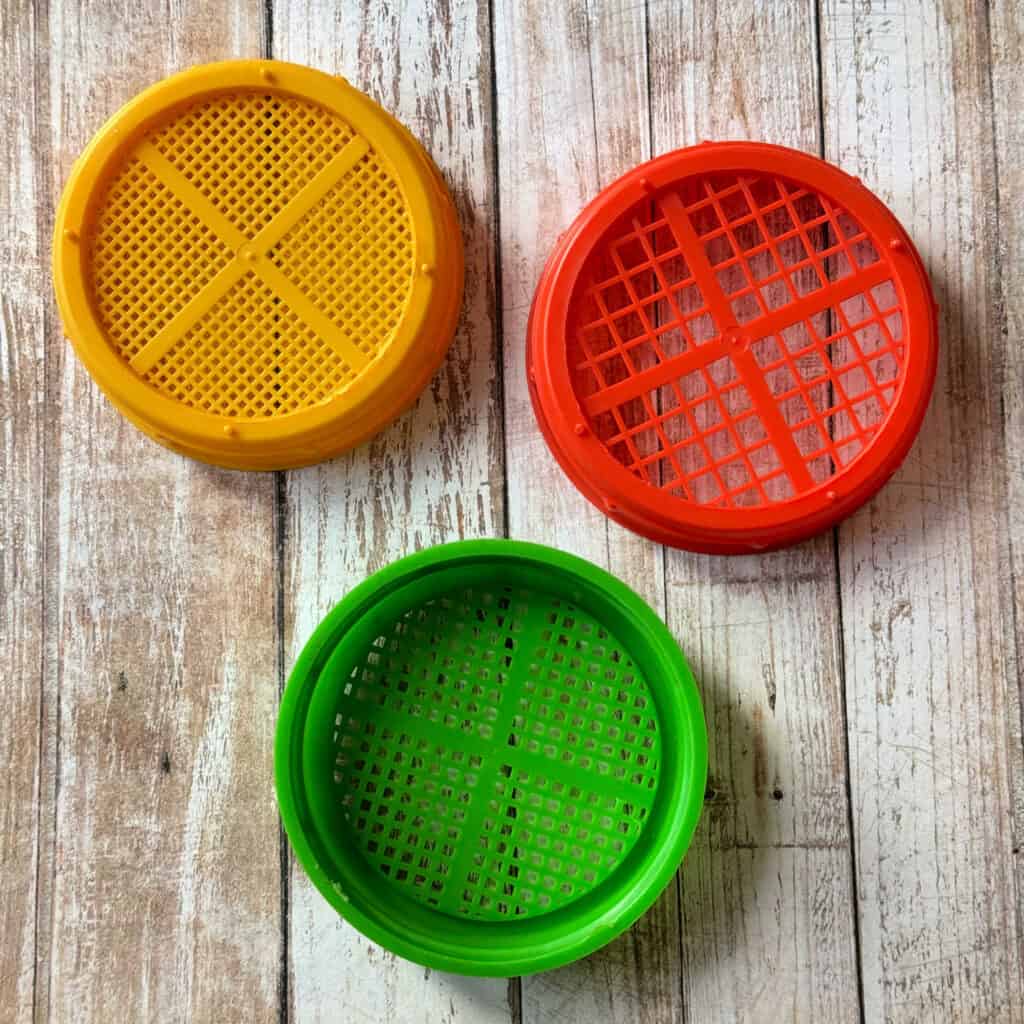
Choose Your Equipment
You can sprout seeds in a glass jar using sprouting lids, or you can use a sprouting tray, or there specialized sprouting containers.
Water: A small spray bottle filled with filtered water is handy for moistening the sprouts during the growing process.
Drainage: use a tray or plate to catch any excess water draining from the sprouting containers.
Lighting: Place your sprouting containers in a well-lit area, but avoid direct sunlight, as it can cause the sprouts to overheat.

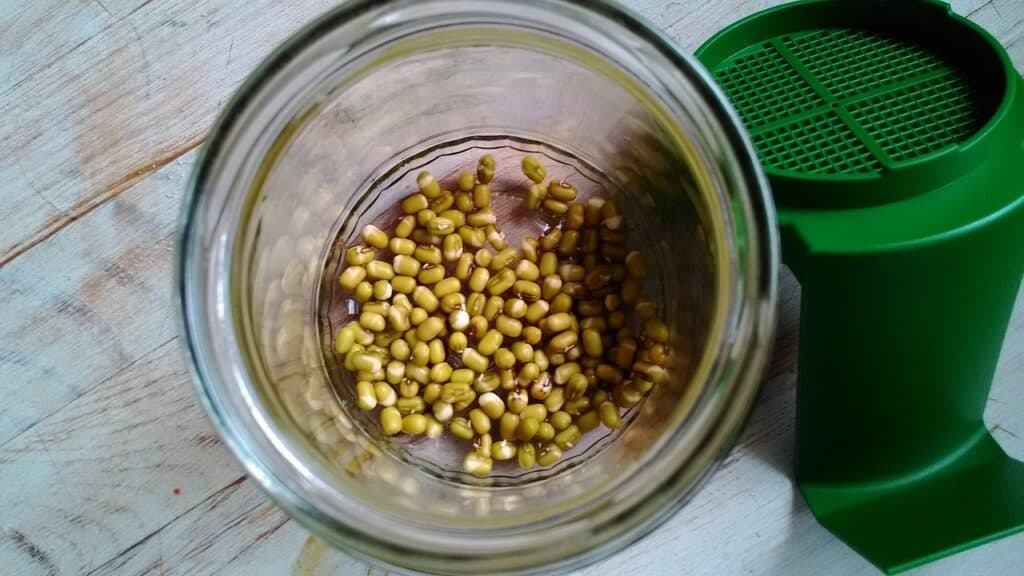
Soak the Seeds
Rinse the seeds thoroughly under cool, running water to remove any dust or debris.
Place the seeds in a glass jar and cover them with filtered water. Use approximately two to three times as much water as seeds.
Allow the seeds to soak for the recommended time, usually 8 to 12 hours or overnight, depending on the seed variety.
Refer to the instructions provided with your seeds for specific soaking times.
Draining and Rinsing
– After soaking, drain the water from the seeds by gently tilting the jar or using a fine mesh strainer.
– Rinse the seeds with fresh water to remove any residual hulls or enzyme inhibitors.
– Drain the water thoroughly and ensure there is no standing water at the bottom of the jar or tray.
Sprouting
– Place the drained seeds back into the glass jar or sprouting tray.
– Cover the jar or tray with cheesecloth or mesh screen and secure it in place with a rubber band or lid.
– Position the sprouting containers in a well-ventilated area away from direct sunlight.
– Rinse and drain the seeds twice a day, preferably in the morning and evening, to keep them moist and facilitate sprouting.
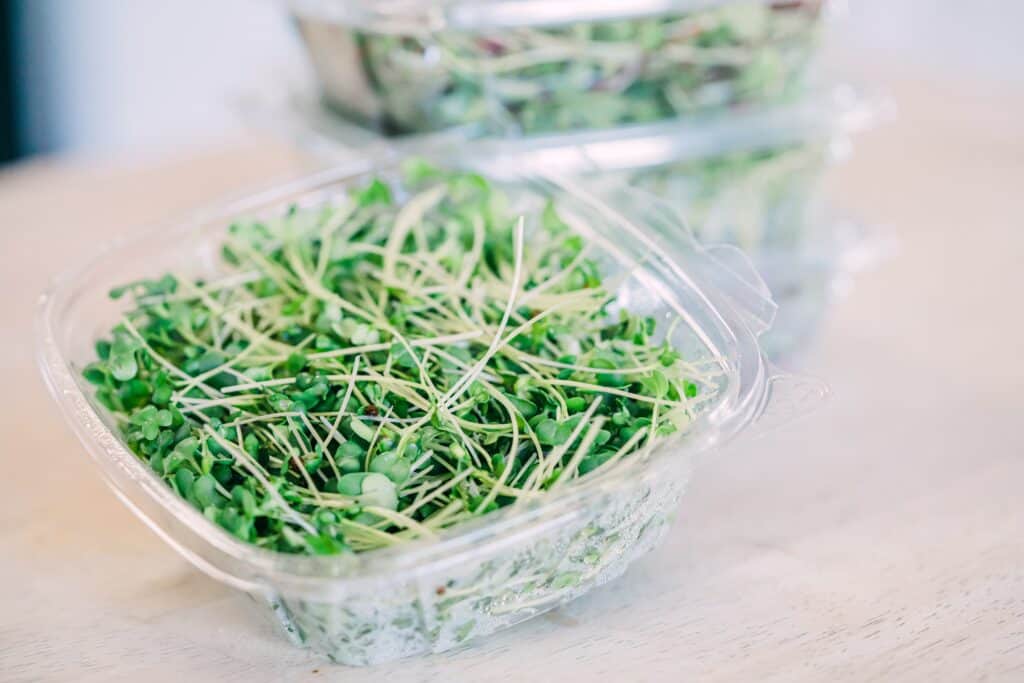
Harvesting
– Depending on the seed variety, sprouts will typically be ready to harvest in 3 to 7 days.
– Once the sprouts have reached the desired length, usually 1-2 inches, they are ready to be harvested.
– Gently remove the sprouts from the jar or tray and place them in a bowl of cold water to loosen any remaining hulls or debris.
– Drain the sprouts thoroughly and pat them dry with a clean kitchen towel or paper towels.
– Store the harvested sprouts in a sealed container in the refrigerator, where they will stay fresh for up to a week.
Enjoy Your Sprouts
– Incorporate freshly harvested sprouts into salads, sandwiches, wraps, soups, stir-fries, or smoothies for an added crunch and nutritional boost.
– Experiment with different combinations of sprouts and other fresh ingredients to create flavorful and nutritious meals.
– Get creative and try growing a variety of sprouts to suit your taste preferences and culinary needs.
Growing your own sprouts at home is a rewarding and satisfying experience that allows you to enjoy fresh, nutrient-rich greens year-round. With just a few simple steps and minimal equipment, you can cultivate a continuous supply of delicious and nutritious sprouts to enhance your meals and improve your overall health and well-being. So why not give it a try and start sprouting today!
I might have to try this out one day! I wouldn’t mind having some sprouts on salads.
This process sounds fairly easy. That’s cool that you will have sprouts in seven days!
This is a great idea. I should get to growing some of my own sprouts. Glad to have seen this.
Growing sprouts seems like an easy enough project, and they’re so tasty and crunch too!
I’m excited to share this with my daughter: she’s starting to grow her own garden soon!
This is a really great and very informative post! I’m surely going to try this out!
I think this would be perfect on our mini garden, can’t wait to share this with my husband! Thanks for sharing this with us
This is something I’ve been meaning to do for a while. Fresh sprouts can really make a lovely addition to various dishes.
I’m not a fan of spouts but my aunt loves them. I’ll send this to her so she can learn how to grow her own.
I’ve never heard of anyone eating any other sprout except alfalfa so that’s cool there’s such a variety. I love how fast they grow too.
I was thinking of starting growing sprouts at home. Seems so easy with your instructions!
Yes, I do this! I love eating sprouts, it’s so good for our health ❤️. Thanks for sharing these tips, very useful for those who wanna learn this method 🙂.
I’ve grown some greens, but I have never grown sprouts! Thank you for sharing it!
Hey!
I just wanted to drop a quick note to say thank you for sharing the guide on how to grow fresh sprouts. The instructions were easy to follow, and the tips and tricks you provided were really helpful. I can’t wait to start growing my own sprouts and enjoy the freshness in my meals!
My aunt used to make me sandwiches with sprouts and I have to say I always enjoyed it so much. Make some want to grow some and add them to my own! Thank you for sharing 😉
definitely need to try this again.. been a while since i grew fresh sprouts at home.. this post was the reminder that i need it soon in a salad
I’ve grown quite a few things in my herb and vegetable garden, but we haven’t tried sprouts yet. This is so easy and I love that it’s in a jar so can be grown in the house since it gets too hot outside for things like this to survive our summer.
I often buy fresh sprouts at our local farmers market, but I would love to grow them myself. I can’t wait!
Anything fresh and homegrown in my salads is welcome! My sprouts turned out perfect by following these instructions!
Whether you like alfalfa or broccoli sprouts, growing these baby greens at home is easier than you think!
You can easily find them at the grocery store, but while the sun is shining, it’s pretty easy to grow them at home too. Thank you.
Wow, With a few simple tools you probably already have, you can have fresh sprouts anytime you want.
Great instructions on growing fresh sprouts at home. I’ve always wanted to try a project like this and now inspired to give it a try!
Nnniiccceeeee….I didn’t know all this about sprouts. It’s good to know that they will experience great air circulation where I am to grow them. Thank you for sharing about them.
It’s a great idea to have your own sprouts at the backyard. I really love to do this, thanks for sharing the process!
I really enjoyed reading this post and found it very informative! Thanks for these ideas I love them!
Big fan of sprouts! Love putting them on my salads!