
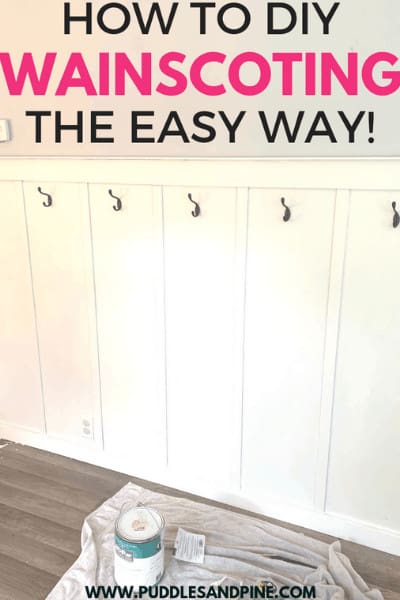
How to install super easy DIY wainscoting!
This super easy DIY wainscoting tutorial is an awesome and inexpensive way to update any area in your house that just needs a little something extra.
This is an easy home decor hack that anyone can do, no building skill required!
As far as cheap DIY home decor projects go, this one is a winner, so keep reading to learn how to DIY Wainscoting!
This post contains affiliate links, which means I receive a small commission at no extra cost to you, if you make a purchase using that link.
What Is Wainscoting?
Wainscoting is wooden paneling that lines the lower part of the walls of a room, usually at chair rail height but not always.
Sometimes people can panic when they hear the word “paneling” because ugly brown walls from the 1970’s comes to mind, but wainscoting doesn’t continue up the entire wall like paneling does.
Realtor.com explains, “Wainscoting started out in the 18th century as a wall covering used to help insulate a room and provides a more durable surface than a painted Sheetrock wall. Now, its main use is as a decorative wall accent that typically rises to chair-rail level and helps make a room more visually appealing.”.
Wainscoting can add an element of sophistication and elegance to a home if done right and is a classic decorating trick to upgrade the look of any room.
You can add wainscoting to multiple walls in a room, all throughout your home or just an accent wall, which is what I did.
How To Make A DIY Wainscoting Accent Wall
This tutorial can be easily customized to whatever you like, I prefer the look of simple lines so I chose to use basic cuts for my wainscoting.
If you prefer something a little more elegant, you could easily use moulding at the top for some added flair.
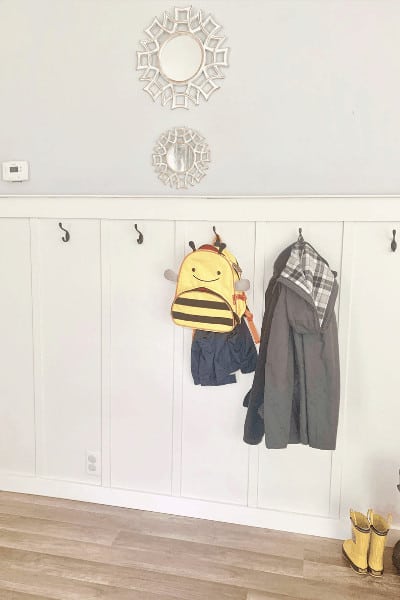
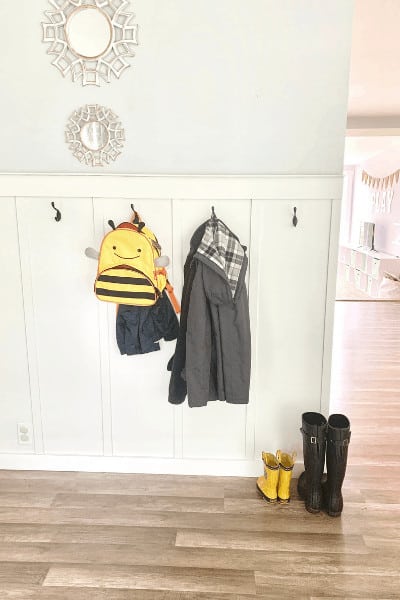
This wainscoting project is the wall in our front entry way and I wanted it to be functional as well as beautiful so we also added coat hooks!
materials and supplies needed:
chop saw
nail gun (this nail gun requires an air compressor, if you don’t have one use a cordless nail gun
wood filler
white paint
paint roller and brush
1″ x 4″ board the length of your wall
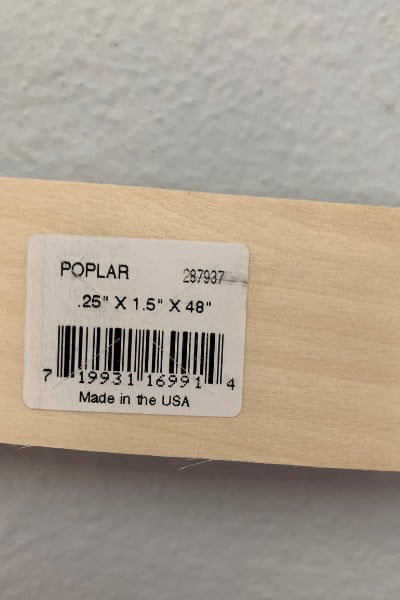
.25″ x 1.5″ poplar board – we used 7 pieces about 48″ in length (depending on the length of your wall you may need more or less, make sure to measure!) plus one piece cut the entire length of the wall.
optional – coat hooks
Note*
We already had the 1″ x 4″ boards and poplar boards in our garage from a previous project, which is why we chose to use them. You can definitely substitute any other kind of wood in a similar size if you can’t find poplar.
DIY Wainscoting Accent Wall Tutorial
- First you’re gonna want to measure out your space. We only did an accent wall so we measured out the length of the wall and the height I wanted, which was about 4 feet above the baseboards.
We also measured the space in between each poplar board to make sure it would be even. Make sure you place a board on each end of the wall and then measure the space in between them to make sure it is symmetrical. Mark where you want each board with a pencil.
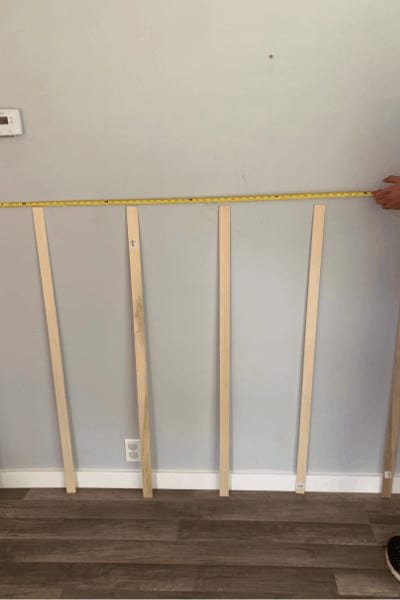
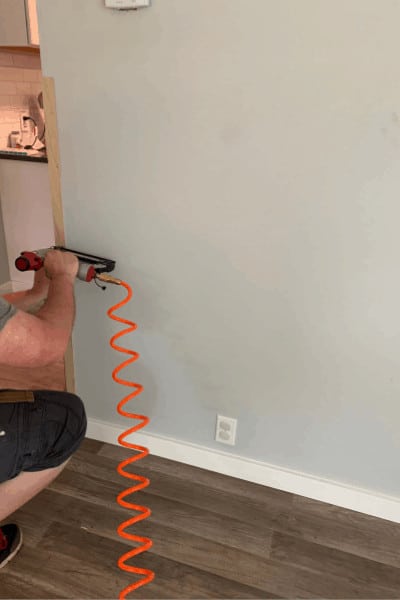
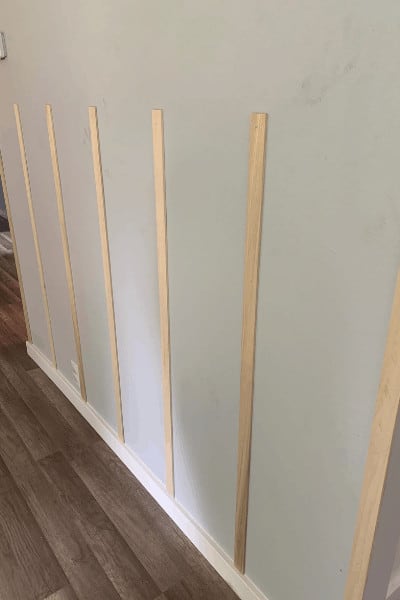
2. Next, start fastening the boards to the wall with the nail gun by lining them up with the marks you previously measured.
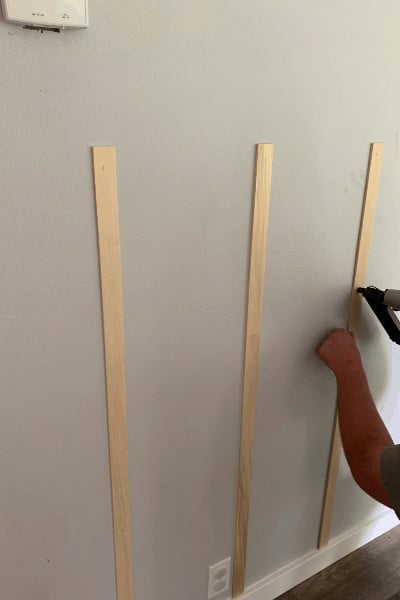
It should look something like this:
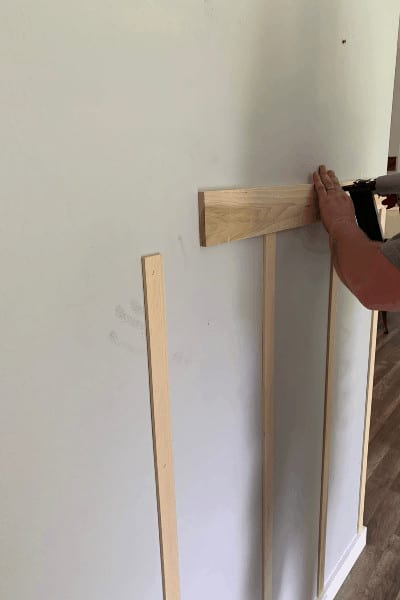
3. Next, nail the 1″ x 4″ board right above the poplar, using a level to make sure it’s even. We already had a couple smaller boards on hand so we just pieced them together and filled the seam in with wood filler so we didn’t have to buy a whole new board.
4. Add the last and longest piece of poplar to the top of the 1″ x 4″ perpendicular to create a mini shelf.

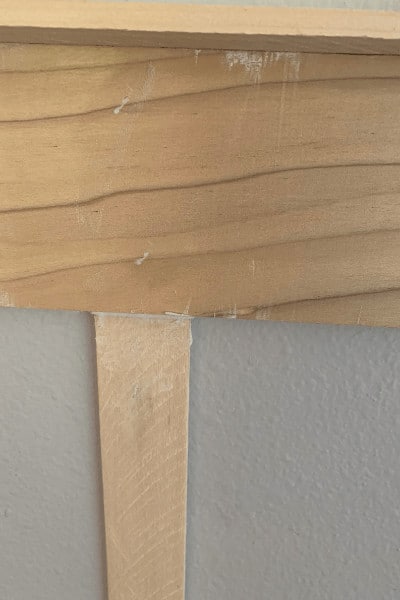
5. Fill in all the nail holes and any seams or gaps in the boards with wood filler to create a smooth surface.
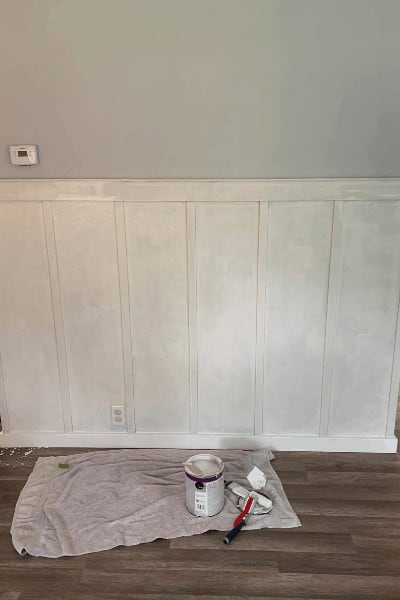
6. After the filler has dried, you can start painting! Depending on your wall color, you may need several coats, this is after one coat:
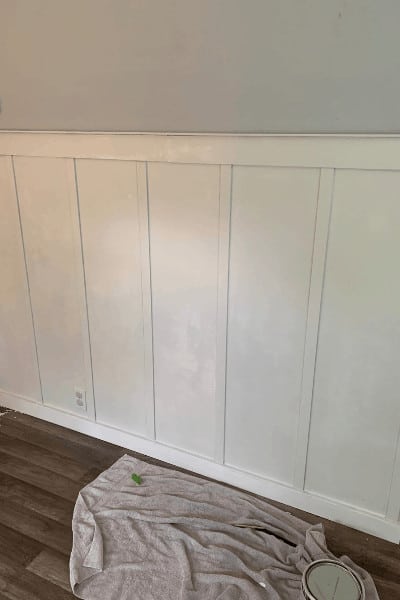
and this is after another two coats:
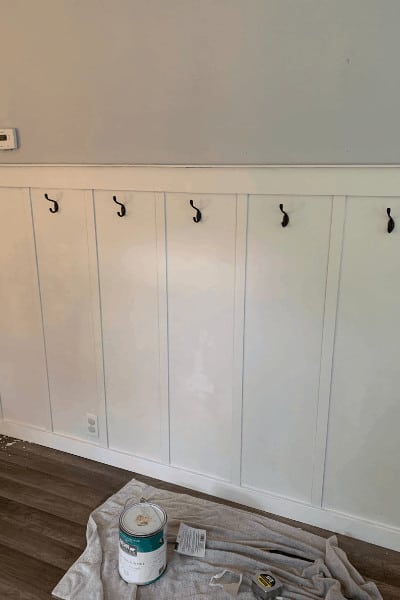
7. Last step, if you choose to use them, is to add your hooks!
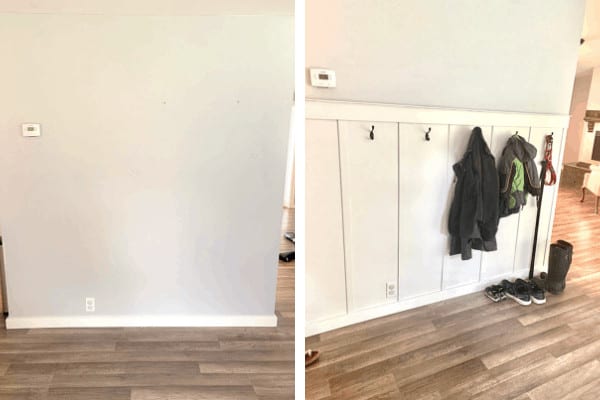
Before And After Wainscoting:
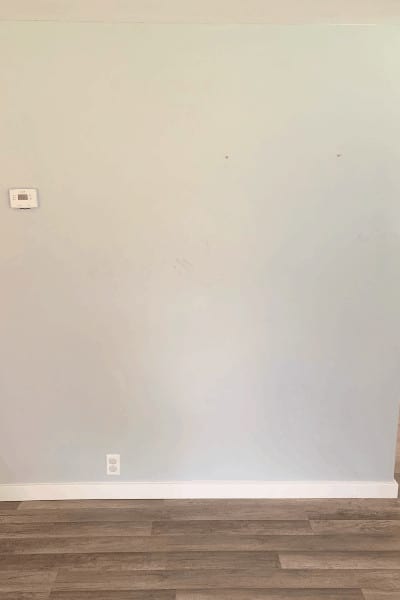
This is before we added the wainscoting. It was so boring and plain!
and here is after the wainscoting is finished! I absolutely love the finished result and that it actually serves a purpose instead of being an empty wall. Now it’s something I actually WANT people to see when they walk through the front door.
Related Articles:
Awesome IKEA Hacks For A Beautiful Home
DIY All Natural Cleaning Recipes


Pingback: Easy DIY Framed Mirrors The Lazy Way -
This looks amazing! And much easier than I expected. I love wainscoting.
I love how this came out. I will have to make one of these.
I love what you did with this wall. I need to do this near my front door.
I love this. It turned out very nice! I may need to do this.
You just took your home decor to a new level. This is beautiful and adds so much to your home.
This looks awesome and somehow easy to do. I’m surely gonna give this a try thanks for sharing this with us
Your guide on DIY wainscoting is a lifesaver! The step-by-step instructions and your personal tips gave me the confidence to tackle this project myself. It turned out beautifully, and I couldn’t have done it without your help.
I love this idea! So practical and it reminds me a bit of a modern farmhouse look!
I love this that it’s functional especially when you have kids and need to stay organized!
The DIY Wainscoting wall really does add a pop to the overall look, and I love how simple it is to do yourself!
Creating a wainscoting accent wall has never felt so achievable! This DIY guide breaks it down beautifully – a must-try for home decor enthusiasts.
I think this is really cool and looks like it would be really easy to do. Thank you so much for sharing
Awesome guide on creating a DIY wainscoting accent wall! The step-by-step instructions were super clear, and the accompanying images were really helpful. Thanks for making it seem so doable. Can’t wait to try this project!