
How To Create Your Own Homemade Beauty Products
Many conventional beauty products contain hidden harmful ingredients and can also be crazy expensive.
I started making homemade beauty products at home years ago before I even became an esthetician so I could control what goes in my products and to save money, and I’ve become addicted!
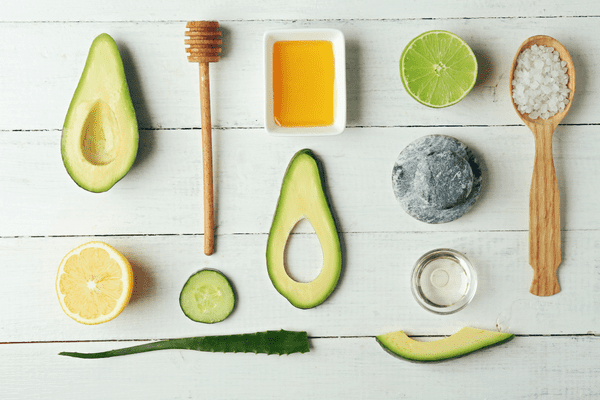
It’s not only incredibly easy and can have amazing results, but you probably already have many of the ingredients in your own kitchen!
And you can make most of the DIY beauty products at a fraction of the cost of store-bought beauty products, while getting great results.
This post contains affiliate links.
Why make homemade beauty products?
So why should you make your own beauty products?
The first and most important reason is because you will know EXACTLY what ingredients you will be putting on your body.
Your skin is the largest organ of your body and since it is porous, it absorbs whatever you put on it. So it’s important to be mindful of the quality of ingredients used in your products.
According to The Environmental Working Group, “Since 2009, 595 cosmetics manufacturers have reported using 88 chemicals, in more than 73,000 products, that have been linked to cancer, birth defects or reproductive harm.”
I’ll admit that there are more companies today making “safer” beauty products with more natural ingredients, but many times there are still some hidden ingredients, like fragrance, that can still be harmful.
One way to check out any questionable ingredients in a product you are looking at is to check with EWG.org. They have a database of thousands of ingredients and even specific brands and products that they’ve given a rating from 1 to 10 on how safe it is.
For the products that actually do contain only safe ingredients, the price tag that comes with them can still be pretty steep.
I have a few natural store-bought beauty products that I absolutely love now that I’ve found them, but it helps to save money on other products by making them myself at home.
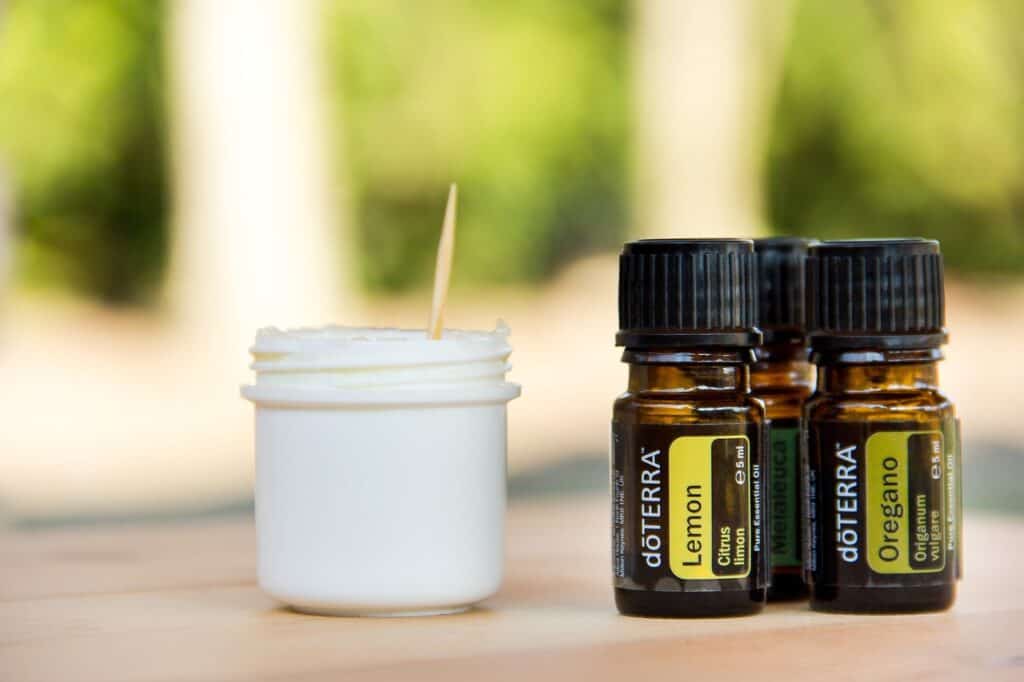
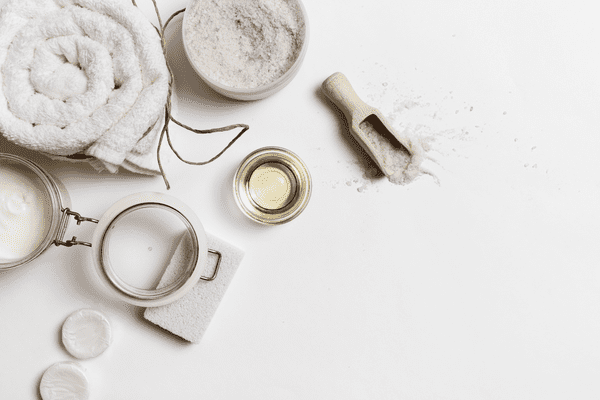
I can make a homemade face mask with bentonite clay, water and some customized essential oils for pennies and get great results or shell out $50+ for something that will do exactly the same thing.
Another great reason to make your own products is because they are 100% customizable!
it’s so easy to tweak just one or two ingredients in a recipe to customize it to what you need, using different oils, clays, butters, essential oils, herbs, etc.
Depending on your skin type, hair type, changes in seasons, life changes, etc. it’s incredibly easy to change up a recipe to get the results you want and not have to waste product you spent hard earned money on because it doesn’t work for you.
Drawbacks to making DIY beauty recipes
There are definitely some drawbacks to making your own beauty products. A big one being, without a preservative, homemade products do tend to go bad faster.
Though there are ways to get around that, the obvious one is to make single use recipes which cuts down on waste but takes away the convenience of just reaching for it when you need it.
You can also store your products in the fridge, make small batches that will get used up fast, or opt for a natural preservative if your recipe allows for it.
Natural Preservatives
Some natural preservatives include antioxidants like vitamin E and rosemary extract or grapefruit seed extract.
If your product is water based, then using distilled water will also help it last a little longer. If you’re making something without water, such as salves, balms, lip balm, body butter, etc., you generally don’t need to add a preservative.
DIY beauty products also takes experimentation to see what will really work for you. It’s not a one size fits all kind of deal.
Though there are recipes that are geared towards certain skin types or hair types and will generally give similar results, everyone is different and what works great for one person might give completely different results for someone else.
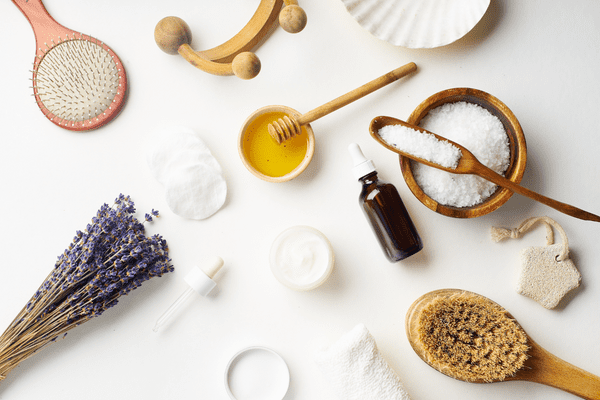
How to choose the best natural ingredients for DIY beauty products
Unfortunately it isn’t always as easy as looking up an ingredient and buying the first one you see.
When it comes to making your own beauty and personal care products, you want to make sure you use the best quality ingredients you can find. Otherwise they make not work as well or they may even cause more problems.
That’s why it is very important that you buy your ingredients from a source that you trust. It’s good practice to research a brand and look into their processing methods.
Or if you know someone knowledgeable with natural ingredients, don’t be afraid to ask their opinion.
I regularly get some ingredients on Amazon after researching their quality, but if you want a recommendation from me, my personal favorite source for natural ingredients is Mountain Rose Herbs.
Feel free to read all about their standards here and look into them further, but they are my go to for almost all the ingredients I use for DIY recipes and products.
If you want to find ingredients locally (I always try to get local honey if I can find it), look for organically sourced ingredients.
I have found some really awesome farm stands in my area with local honey, eggs, oils and more.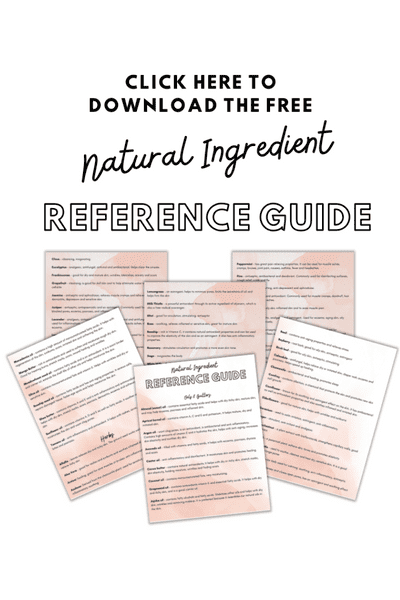
How to store homemade beauty products
Storing homemade beauty products can vary by product, but you want to make sure they are stored properly.
Because you are opting to use fresh natural ingredients and not synthetic preservatives, unfortunately that means they will also not last as long. In order to help them stay fresh longer, it’s important to store your products correctly.
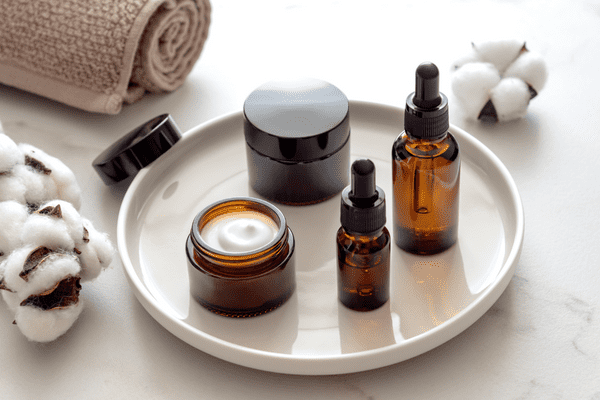
First, it’s important to determine what type of packaging you want to use.
I almost always use tinted glass bottles for my products because they usually contain some type of oil and it helps filter light which can make the oils less effective. It’s not always necessary but it does give me some piece of mind.
There are several different types of containers you can use and it generally really depends on your preference and what type of product you want to make.
I do highly recommend using bottles with pumps when possible because it’s just cleaner and there’s less chance of contamination from your fingers. But if you are making something thick like a body butter, then a jar or tub will be best, like these gorgeous frosted glass jars.
I buy a lot of my bottles an Amazon but another favorite source for containers is (no surprise) Mountain Rose Herbs.
They have some really great bottles that I really love like these dropper bottles.
You can also probably find bottles at your local health store, I’ve also found lots of really fun old vintage bottles from thrift stores as well!
How to make custom homemade beauty recipes
One of my favorite reasons to make DIY natural beauty products is because I can tweak them and customize them so they are perfect for me.
There are tons of natural beauty recipes out there, all you have to do is google “natural beauty recipes” and you will find thousands of examples, as well as some on this site.
The issue is many of these recipes are not one size fits all, especially when it comes to skin care.
What gives amazing results for one person may not work as well for another, which is why it’s important to know what your needs are.
To customize a recipe or even create a whole new one, you need to substitute and add ingredients that are going to give you the benefits you are looking for.
If you download my FREE natural ingredient reference guide, it can help you choose the ingredients that will help give you the results you want.
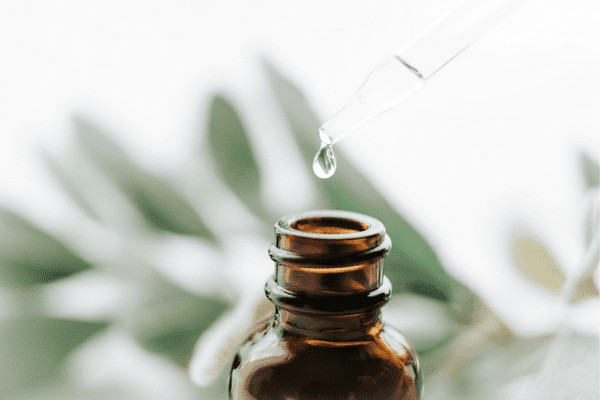
One example would be my recipe for DIY Facial Serum.
My recipe calls for argan oil because it tends to be pretty universal and has great antibacterial benefits for acne prone skin in particular.
But say you have dry skin and you need a bit more moisturizing power. You may want to substitute avocado oil or almond oil instead.
You could substitute different essential oils too, opting for Myrrh or rose oil instead of tea tree and manuka.
There are countless combinations you could use, it all just depends on what your skin needs. It will also probably take some experimentation to figure out what works best for you!
But first, a good starting place is knowing what your skin type and hair type is.
How to know what your skin type is
It’s not generally hard to tell what your skin type is if you really think about how it feels and looks throughout the day.
Dry
Dry skin often feels tight and it sometimes gets a little flaky or scaly. It can also feel itchy at times and tends to look more dull in appearance.
If you wash your face and your skin feels uncomfortably tight until you put moisturizer on, you probably have dry skin. Mature skin tends to be on the dryer side too but not always.
Oily
Oily skin tends to produce excess oil or sebum so it appears shiny or greasy throughout the day.
People with oily skin also usually have enlarged pores and tend be more prone to acne and breakouts. If shine is something you are constantly battling with and you have enlarged pores, you likely have oily skin.
Normal
If you have normal skin, lucky you! Normal skin feels balanced, it doesn’t feel dry or greasy and doesn’t tend to be very sensitive.
Pores on normal skin tend to be pretty small and the skin feels pretty smooth most of the time.
Combination
Combination skin can be tricky to deal with but it is essentially when your cheeks tend to be more dry but your T-Zone (forehead, nose and chin areas) is more on the oily side.
Sensitive
Sensitive skin is actually not just it’s own skin type, you can have oily and sensitive skin, dry and sensitive skin or normal and sensitive skin.
If you have sensitive skin, it may be red, feel like it’s burning, itching or dry. Sometimes it means you could have an allergy to certain ingredients, or you could be extra sensitive to dyes, fragrances or even environmental factors.
How to know what your hair type is
You might think you know what your hair type is, but you’d be surprised just how easy it is to get wrong.
For many people it can be a big surprise that their hair type is entirely different than what they thought simply because they are using the wrong products or styling it incorrectly.
Not to worry though, there are a few simple tests to determine exactly what your hair type is.
The best and easiest test is to leave your hair free of products and let it air dry the next time you wash it. If it dries straight without a bend or curl, then you have straight hair (or type 1 hair). If it dries with a slight curve or “S” shape, then it’s considered wavy hair (type 2).
If your hair dries with a defined curl pattern, you have one of two curl types.
Type 3 curly hair has bouncy ringlets or corkscrew curl patterns but is not as dense as coily hair.
Coily hair is classified as type 4 hair and is often called a natural hair type. Those with type 4 hair usually have dense spirals that shrink quite a bit when the hair goes from wet to dry.
Hair type subcategories
To make things a little more confusing, there are also subcategories in each number, for example 3a, 3b or 3c, each subcategory representing a different thickness.
Generally, your hair can fall into three categories: fine (type a), medium (type b), and coarse/thick (type c).
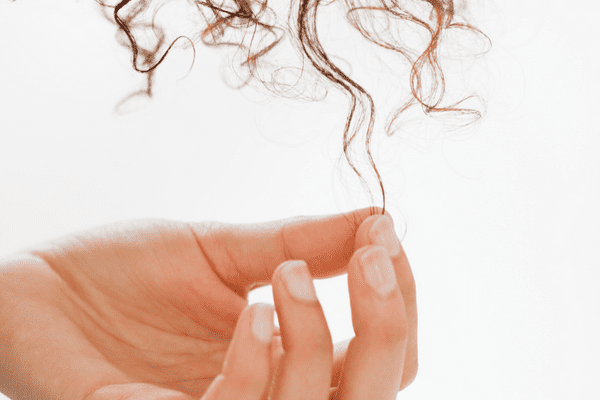
one easy way to determine what subcategory your hair falls into is the finger test.
Simply take a single strand of hair and hold it between your thumb and index finger. If you can barely feel the hair then you most likely have fine or thin hair, if you can feel the strand slightly, you have medium or normal hair, if you can feel it distinctly you probably have coarse or thick hair.
Another easy way to tell is by looking in the mirror, grabbing a big section of hair and pulling it aside. If you can see a lot of scalp, you likely have thin hair, if you can partially see your scalp you likely have medium hair and if you can barely see any scalp, you probably have thick hair.
Keep in mind that everyone is different and it’s not always easy to tell, but using any of these tests should help you determine your hair type, thus knowing what ingredients will work best for you when making your own homemade beauty recipes.
Related Articles:
DIY Face Serum For Glowing Skin
I try to use as many natural skin care products as possible but have never made my own. It sounds so easy that I may have to try some of these.
I love being able to do my own homemade beauty recipes. I especially love using essential oils.
I need to make some of these for sure. I keep hearing how homemade is so much better for you.
Storing my homemade beauty recipes has always been the issue. They never last long, and I have to use them right away. Thanks for all these tips!
I really need to try and make some of these! Thanks for sharing this with us
enjoyed reading your post what a great way to use makeup the truly natural way
Great post! My daughter does this a lot with her essential oils, she tries to only use natural skincare products.
My daughter loves to make beauty products at home! She needs to know these tips!
thank you for this breakdown for skin / home care products at home.. i definitely need to start taking better care now and given my hair is certainly something that needs home-brewed tlc, your posts help
A treasure trove of natural and cost-effective ways to pamper yourself. Say goodbye to expensive products and hello to DIY beauty brilliance!
There are so many beautiful and interesting ingredients used in them! Thanks for sharing
This is a great post and I have learned a lot from this. Now, I can make my own beauty products in the comfort of my home!